

Keeping a mechanical keyboard clean is more than a matter of looks; it directly affects typing accuracy, key responsiveness, and the overall lifespan of your gear.
Dirty keyboards often harbor crumbs, oils, and bacteria that reduce performance over time.
Regular cleaning helps prevent sticky keys and frustrating malfunctions. With just a few basic tools and a bit of time, even a beginner can maintain a mechanical keyboard that feels like new.
Expect to invest anywhere between 10 and 30 minutes, depending on the level of grime and the depth of cleaning you’re aiming for.
Essential Tools & Cleaning Supplies
A successful keyboard cleaning begins with gathering the right supplies. Preparation makes the difference between a light surface wipe and a satisfying, grime-busting session.
Each tool serves a specific purpose, helping you work efficiently without damaging your mechanical keyboard.
- Keycap puller – Designed to safely remove keycaps without stressing or cracking them. A proper puller protects both the caps and switches during removal.
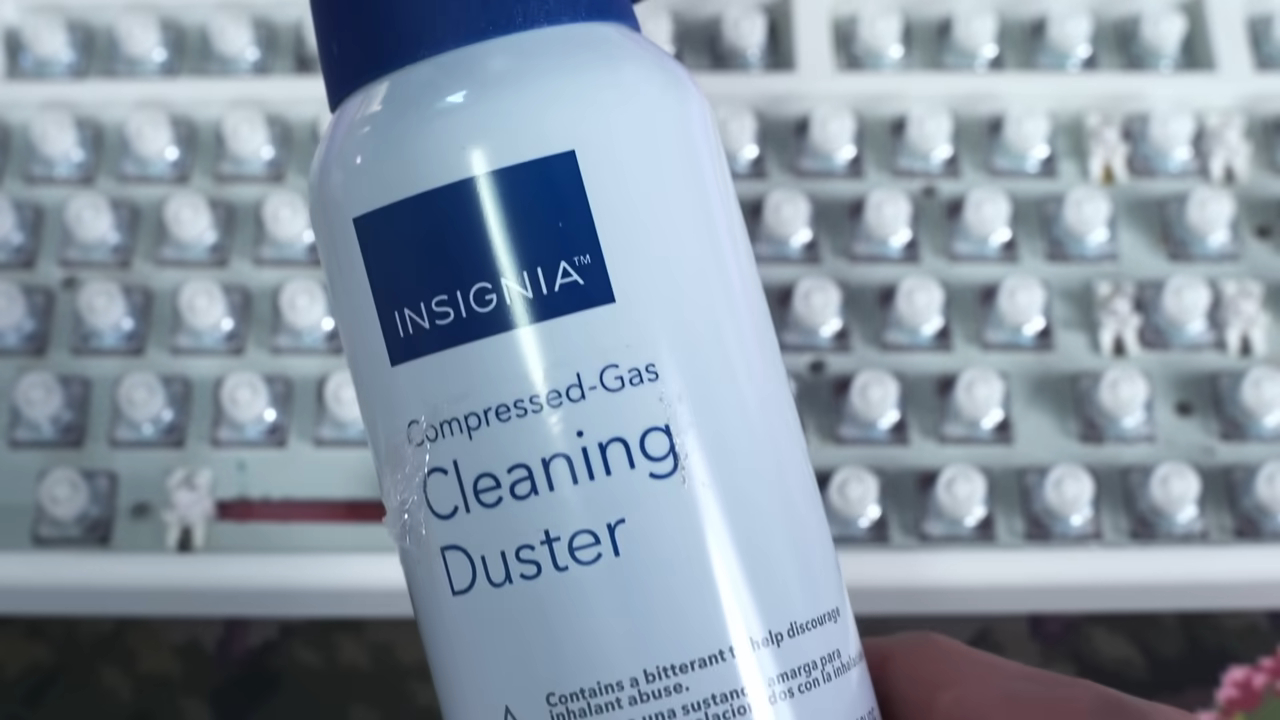
- Compressed air or a low-suction vacuum – Perfect for dislodging dust, food particles, and pet hair wedged in hard-to-reach spaces. Hold the keyboard at an angle to allow particles to fall out instead of being pushed deeper.
- Soft brushes (e.g., old toothbrush or anti-static brush) – Effective for cleaning the area around switches and brushing away stuck-on residue. A soft-bristled brush won’t scratch the surface.
- Microfiber cloth – A gentle and effective option for wiping down keycaps and the keyboard surface. Picks up oil and dust without leaving streaks or fuzz.
Cleaning agents and solutions:
- Mild soap and warm water – Ideal for soaking keycaps in a small bowl. A 20–30 minute soak loosens buildup without damaging the plastic.
- Isopropyl alcohol (at least 70%) – Useful for disinfecting surfaces and removing sticky grime. It evaporates quickly and is safe for electronics when used carefully.
Optional tools for extra efficiency:
- Blow dryer (cool setting only) – Helps speed up drying time, particularly in colder environments where keycaps might take hours to dry naturally.
- Small container or bowl – Handy for soaking keycaps without making a mess in the sink. Keeps everything contained and reduces risk of losing small parts.
Having these items on hand ensures you’re prepared for quick surface cleaning or full-scale disassembly.
Investing a small amount of time upfront to gather the right supplies leads to better results and a keyboard that looks and feels brand new.
Routine Cleaning (Quick Maintenance)
Routine maintenance plays a key role in keeping your mechanical keyboard responsive and visually clean. Aim to perform a light cleaning once a week to prevent buildup of dust, grime, and finger oils.
Begin by unplugging the keyboard, always remove power before touching anything internal to avoid short-circuits or accidental keystrokes during cleaning.
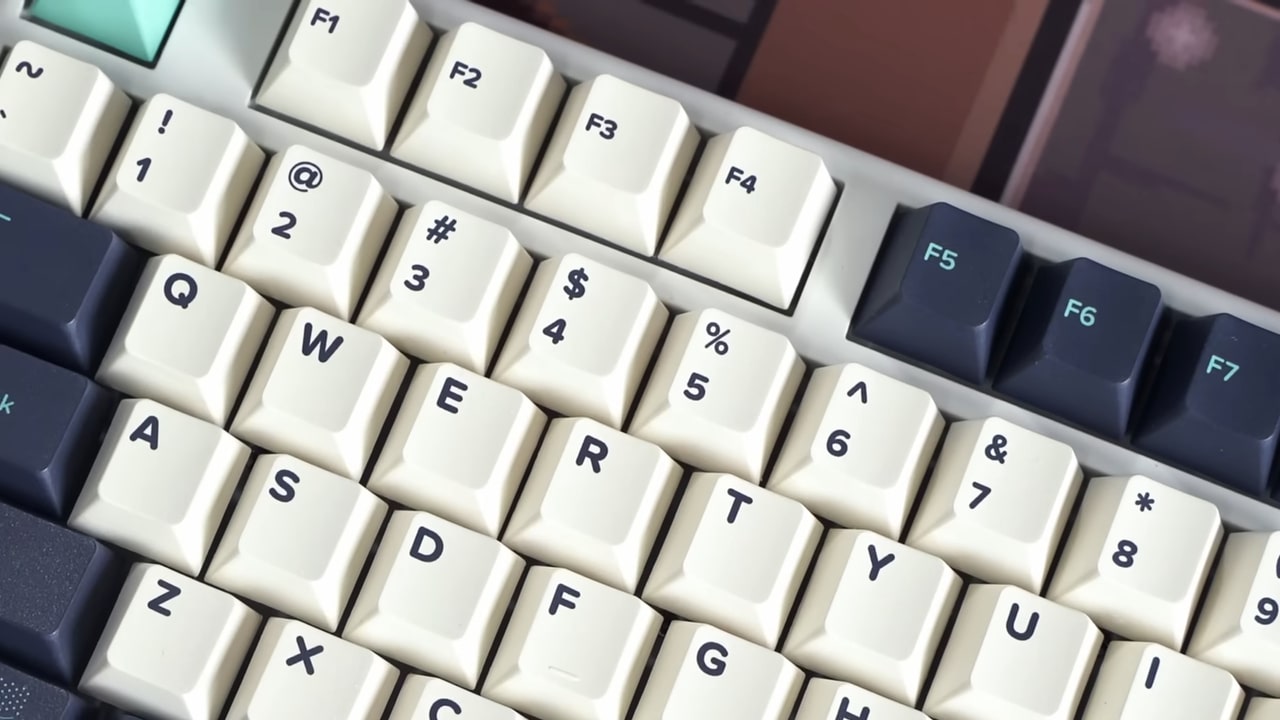
Surface grime adds up faster than expected. Use a clean microfiber cloth to wipe down the top of the keycaps and the casing. Just a few seconds of wiping can dramatically improve the look and feel. Smudges, fingerprints, and grease are common, especially with regular use.
Next, introduce compressed air or a small vacuum with low suction to your routine. Debris tends to lodge in tight spaces between keys, and it’s not always visible at first glance. Tilt the keyboard at an angle while using compressed air—gravity will assist in pushing out stubborn dust particles.
A quick clean like this can be performed in under ten minutes and keeps performance smooth between deeper cleaning sessions.
- Unplug the keyboard – Prevent electrical hazards and unintentional inputs.
- Wipe all surfaces with a microfiber cloth – Remove dust, fingerprints, and oil quickly.
- Use compressed air or a low-suction vacuum – Dislodge debris from between keys without taking anything apart.
- Tilt the keyboard during air-blasting – Make gravity your cleaning assistant for better results.
Deep Cleaning (Every 1–2 Months)
A more thorough cleaning once every month or two helps maintain peak performance and a fresh typing experience. Begin by unplugging the mechanical keyboard completely to eliminate any chance of electrical damage. Use a keycap puller to remove the keycaps gently, ensuring minimal pressure on switches.
Before you go further, take a clear photo of the keyboard layout. This small step can prevent confusion when it’s time to reassemble.
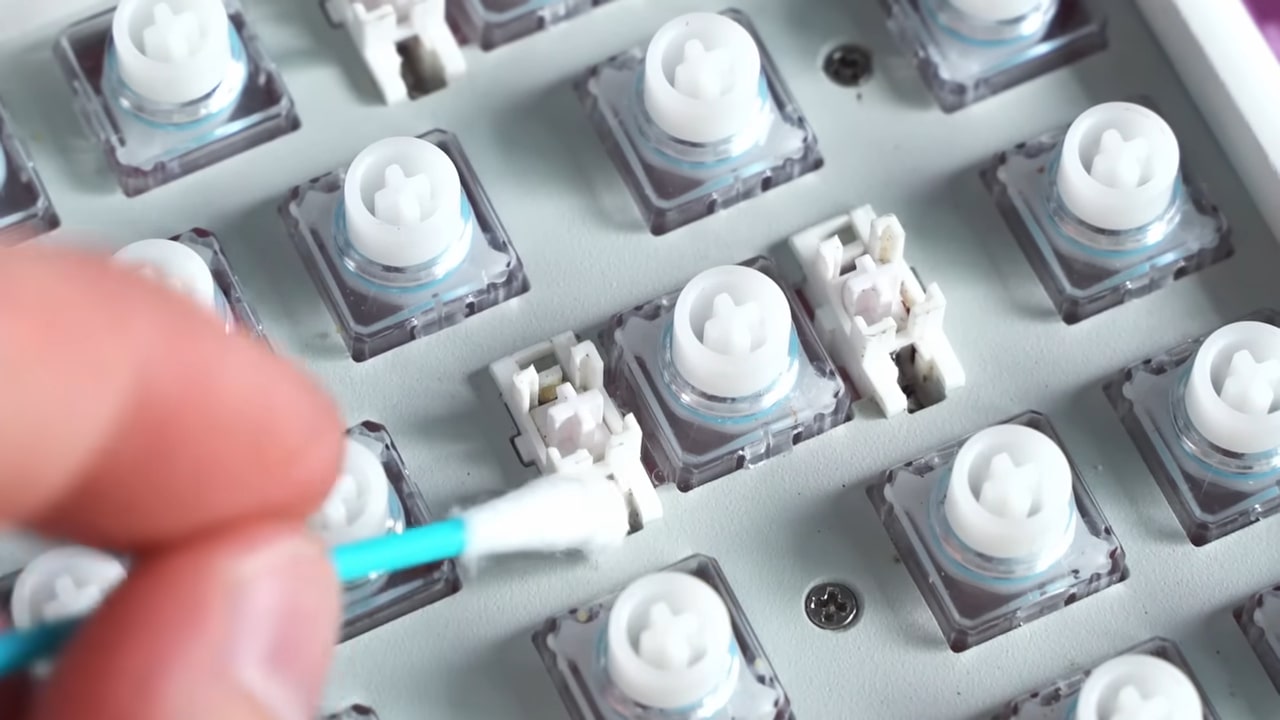
Under the keycaps, debris collects quickly. Hair, crumbs, skin flakes, and general dust buildup are common offenders. Use a soft brush to sweep through these areas or compressed air to blast them out.
- Unplug the keyboard
- Use a keycap puller to detach keycaps
- Take a photo of the key layout
- Use a soft brush or compressed air to remove debris
Next, address the keycaps themselves. Fill a small bowl with warm water and a few drops of mild soap. Let the keycaps soak for at least 20 minutes. A bit of isopropyl alcohol can be added to the mix for added sanitation.
Avoid using boiling water or harsh chemicals that could damage the plastic.
After the soak, take a toothbrush or another soft brush and gently scrub each keycap, especially around the sides and under the stems. Once clean, set the keycaps on a towel or rack to air dry completely.
- Soak keycaps in warm, soapy water for 20 minutes
- Add isopropyl alcohol for better disinfection
- Scrub each cap with a soft brush
- Let air dry fully—preferably overnight
- Use a cool setting on a blow dryer only if necessary
While the caps dry, turn your attention to the mechanical keyboard base. Moisten a microfiber cloth with isopropyl alcohol—never saturate it—and carefully wipe around the switches. Focus on areas where dust and skin oils gather, such as the spaces between switches and the frame edges.
- Wipe keyboard base with alcohol-dampened microfiber cloth
- Avoid using excess liquid near switches
- Clean around switch stems and tight edges gently
Handling Spills
Liquid spills can ruin a keyboard fast, but quick action often limits the damage. Unplug the keyboard immediately to prevent any short circuit.
Without wasting time, turn it upside down to allow gravity to drain out as much liquid as possible. Do not press any keys—doing so can force moisture further into the switches or circuit board.
- Unplug the keyboard instantly
- Flip it upside down
- Avoid pressing any keys
Next, remove the keycaps to access the surface beneath. Use a clean, dry cloth to absorb all visible moisture. Be thorough yet gentle. If you spilled something sugary or sticky—like soda or juice—resist the urge to scrub. Instead, blot and pat the area to lift the residue.
- Remove keycaps carefully
- Use a dry, lint-free cloth to blot moisture
- Do not smear sticky residue
Place the mechanical keyboard in a well-ventilated, dry area with low humidity. Leave it there for at least 24–48 hours to dry completely. Speed things up with a fan pointed at the keyboard—but avoid heat, which may damage components.
- Let air dry for 24–48 hours minimum
- Use a fan for airflow if desired
- Do not replug until thoroughly dry
The Bottom Line
Clean gear performs better—period. Regularly wiping down your mechanical keyboard prevents the buildup of grime, dust, and bacteria.
Typing becomes smoother, keys feel crisper, and the entire setup looks more professional.
Maintenance doesn’t have to be complicated; it just has to be consistent. A clean keyboard contributes to a more productive and satisfying experience every time your fingers hit the keys.
With the growth of smart home tech items, every modern home will soon be AI-powered. Read on how you can improve your home with technology!